Tactical Ventilation – The “Where” Continues. Let’s Go Vertical!
The “WHERE” Continues. Let’s Go Vertical
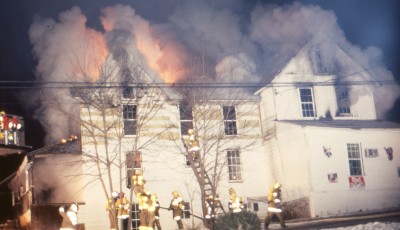
As we explore the different structure types and sizes as they relate to ventilation needs, we must now discuss the benefits and risks associated with vertical ventilation. For those of us that are directionally challenged that’s roof venting. Rooftop ventilation has come under attack in the last 10 years.
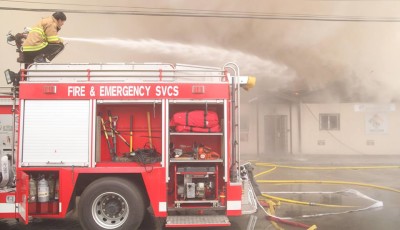
Those attacks have centered on safety of the roof vent team. Let’s face it, functioning on a roof of a structure that is on fire is inherently dangerous but it has proven time and again to be effective and necessary in various fire scenarios.
Those situations that I have found vertical ventilation to be necessary revolve around allowing the nozzle team to make their way to the seat of the fire, controlling fire spread, and most importantly preventing a major build-up of heat and flammable byproducts on the floor(s) above the fire.
In order to accomplish this goal in a timely fashion, we must have adequate personnel on scene. Let’s face it, it isn’t the easiest job in the fire service! Education and experience are the keys to accomplishing this task.
Here are the key elements you MUST understand:
- First, you must have a clear understanding of the roof construction. Trust me, your life depends on it.
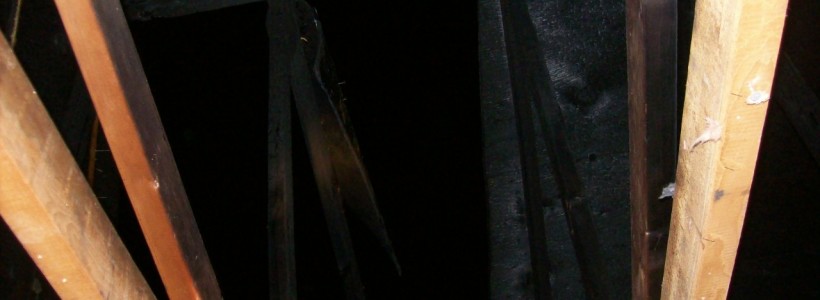
- Second, you must know approximately how long or if the roof support structures have been directly exposed to fire conditions. Their failure will be your demise.
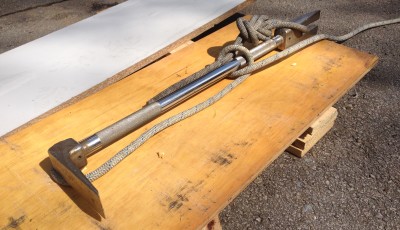
- You will need the right tools. Take the best saw for the job (we will touch on the equipment in another segment), an 8ft or longer hook and a haligan type device. In some cases a roof ladder when necessary.
- Sound the roof at all times before you step. This is critical, a solid sound is the only sound that gives you security. It also provides some understanding of the roofing material and thickness.
- Some idea of the fire location within the structure, In the case of garden style apartments, you must know where the main stairwell is located.
Once the need for vertical ventilation has been established. The most effective location for your vent hole must be located.
Make an inspection cut, a quick triangle cut to determine the roof material and thickness as well as the truss location. As you make your cut, ensure you have a feel for the trusses, this is only done by experience! The saw will raise up slightly as it encounters the truss. Trust me, cutting trusses will ruin your day. I have found that making a large 8X8 minimum is most effective. I have also learned that on most roofs this worked much better if I did it in two or three segments. The roofing material was much easier to remove. Once you get your cut made, it is imperative to punch the ceiling material or you vented nothing but the attic space.
The point of vertical ventilation is that heat rises until it encounters an obstacle, then it moves sideways and down. If we give the heat a path up and out only good things happen below the ceiling and the nozzle guys like that!!!
Until next time, “Be Ready, Be Safe”.




Glad to see someone else is talking about vent holes larger then 4×4. Everyone has read about todays fires producing more heat and smoke then fires 40 or 50 years ago. So why are they cutting a hole that was used to vent a structure that produced half the volume of smoke on todays combusitibles. 4×8 should be the new minimum.
Thanks Eric,
I have found that most of the time, we tend to take the easy way and not necessarily the best way, when it comes to opening up. How many still just take the glass out of the window and not the whole window?? Open it wide, it does make a difference!! Keep learning and sharing.
Mike
Since the speed with which a roof gets vented is paramount, I will stay with an initial 4×4. Once that is done you can enlarge the hole or ventilate other areas of the roof if needed. I just think spending the time on an initial 8×8 could be detrimental to the interior crews.