Fundamentals of Hydrant Procedures – Part 2
In part one we started discussing fundamental hydrant procedures to ensure a positive water source to our apparatus. Today we will continue on with the discussion…
Step 2 – Remove Supply Hose From Apparatus
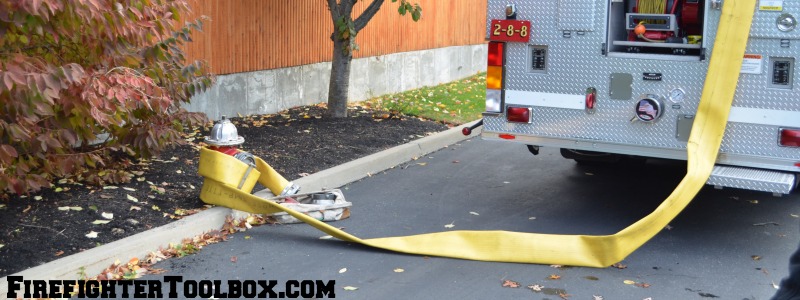
Remove enough hose from the rig to reach the hydrant as well as flake out behind the rig. If you remove just enough hose to reach the hydrant you run the risk of establishing a nicely kinked line one the engine pulls away and you charge it with water.
Step 3 – Wrap Hose Around Hydrant
Once the line is wrapped around the hydrant you can signal for the rig to continue on down the block. Use caution when standing in the area in case the hose was to come undone it can whip violently off the hydrant and cause injury.
Step 4 – Flush Hydrant
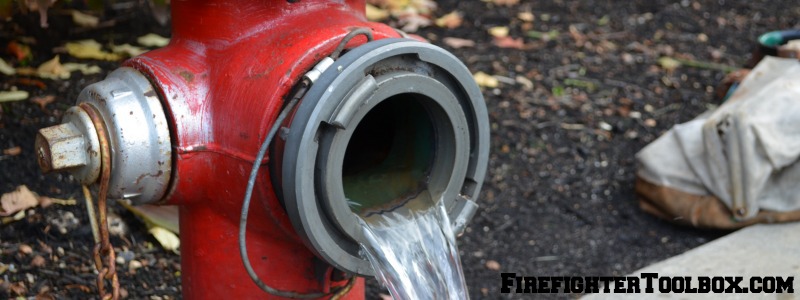
Remove the steamer cap off the front and give a quick visual inspection to the inside of the hydrant. If it is packed with debris you can use the pliers to try to remove it. It will also be a good decision to radio the incident commander and let them know that their water supply will possibly be delayed (they may make the decision to commit another engine to a secondary hydrant).
Once it is cleared, or if found to be clear on inspection begin to open the hydrant slowly. If you cause the water to rush up to fast you run the risk of the water pinning any large debris inside to the top of the hydrant. Ideally you want the water to rise up slowly, effectively spilling any debris out of the hydrant.
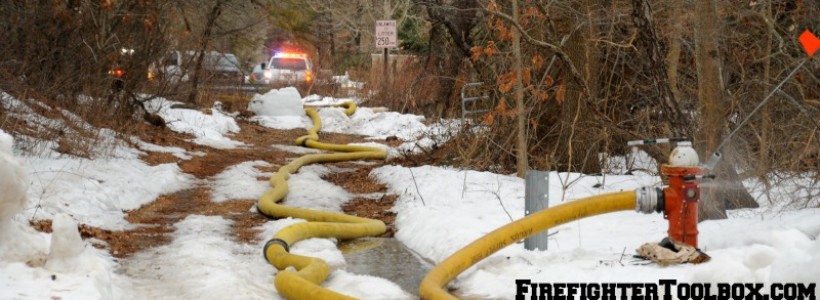
Let the hydrant flush completely for a few seconds and then open it up all the way to ensure you have complete water flow then shut it down. When flushing a hydrant stand behind it, there is no need risking getting soaking wet at this point.
Step 5 – Place Storz Adaptor on Hydrant
Connect hose to hydrant. Check to make sure other hydrant caps are tight and place your gated wye on if needed.
Step 6 – Radio For Water
Ask the engine chauffeur if he is ready for water before opening the hydrant. If he started the crew off on tank water you may have completed your tasks before he has made his hydrant connection. Charging the hose bed of the rig is something no one wants to see happen. If he is ready open the hydrant all the way. A hydrant should either be all the way closed or all the way open.
If you have any additional tips on hydrant fundamentals please leave them in the comment section.


My Department still connects a Hydrant Gate to one of the spuds which helps drain the 5″ supply hose later (after shutting down the hydrant).
Good Article. My department will gate all sides of the hydrant as we have had hydrant failures and burst supply lines that have caused all kinds of issues. One option we have used for years to communicate that the Engine is ready for water is a flashing green beacon on the back of the Engines with the switch on the pump panel. In the all to common scenario that the hydrant firefighter doesn’t have a radio or cannot contact the Engineer, the flashing green light tells the hydrant man that the Engineer is completely hooked up and ready to go.