Previous Story
How To Perform An Air Brake Test
Posted On 11 Aug 2014
Comment: 0
Have you ever had a moment when you saw your life pass before your eyes — because the rig almost got into a horrible accident while responding to a call? Weren’t you glad the unit stopped in time and that the brakes worked?
If we know the brakes working properly saved our lives, then why would we neglect these checks at the beginning of our tour?
7 Air Brake Tests
We are required to perform 7 air brake tests every day without fail:
1. Emergency Brake Test
2. Low Air Alarm
3. Cut In Test
4. Cut Out Test
5. Static Test
6. Applied Test
7. Measurement & Visual Inspection
To perform these tests you will need to be in an open area and on level ground. This is the order and procedure I use to perform an air brake test.

The emergency brake
#1 – Emergency Brake Test
You can use one or both of these tests if you like.
Test A –
With the unit moving no more than 5 mph and on level ground, engage the emergency brake. The unit should stop within 20 feet.
Test B –
With the unit parked and running, release the parking brake and pump the brakes all the way down. At around 70 psi, you will get the low air audible warning.
Continue until the air pressure is about 40 psi. At this pressure the emergency brake should engage (pop out) and set. This test lets us know that, if we have an airline failure, our emergency brake will engage properly.
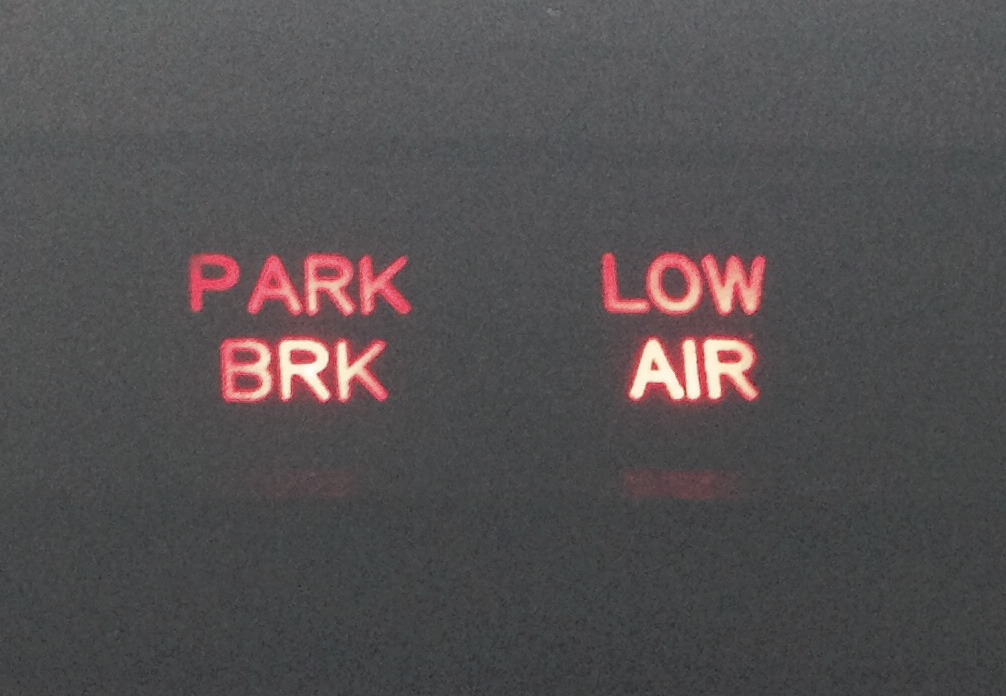
Low air alarm.
#2 – Low Air Alarm Test
While performing the Emergency Brake Test B, we should have gotten a low air audible alarm. However, if you chose Test A, then you should proceed to pump the brakes down below 70 psi. At 70 psi, we will get an audible and visual alarm of low air pressure for the primary and secondary tanks.
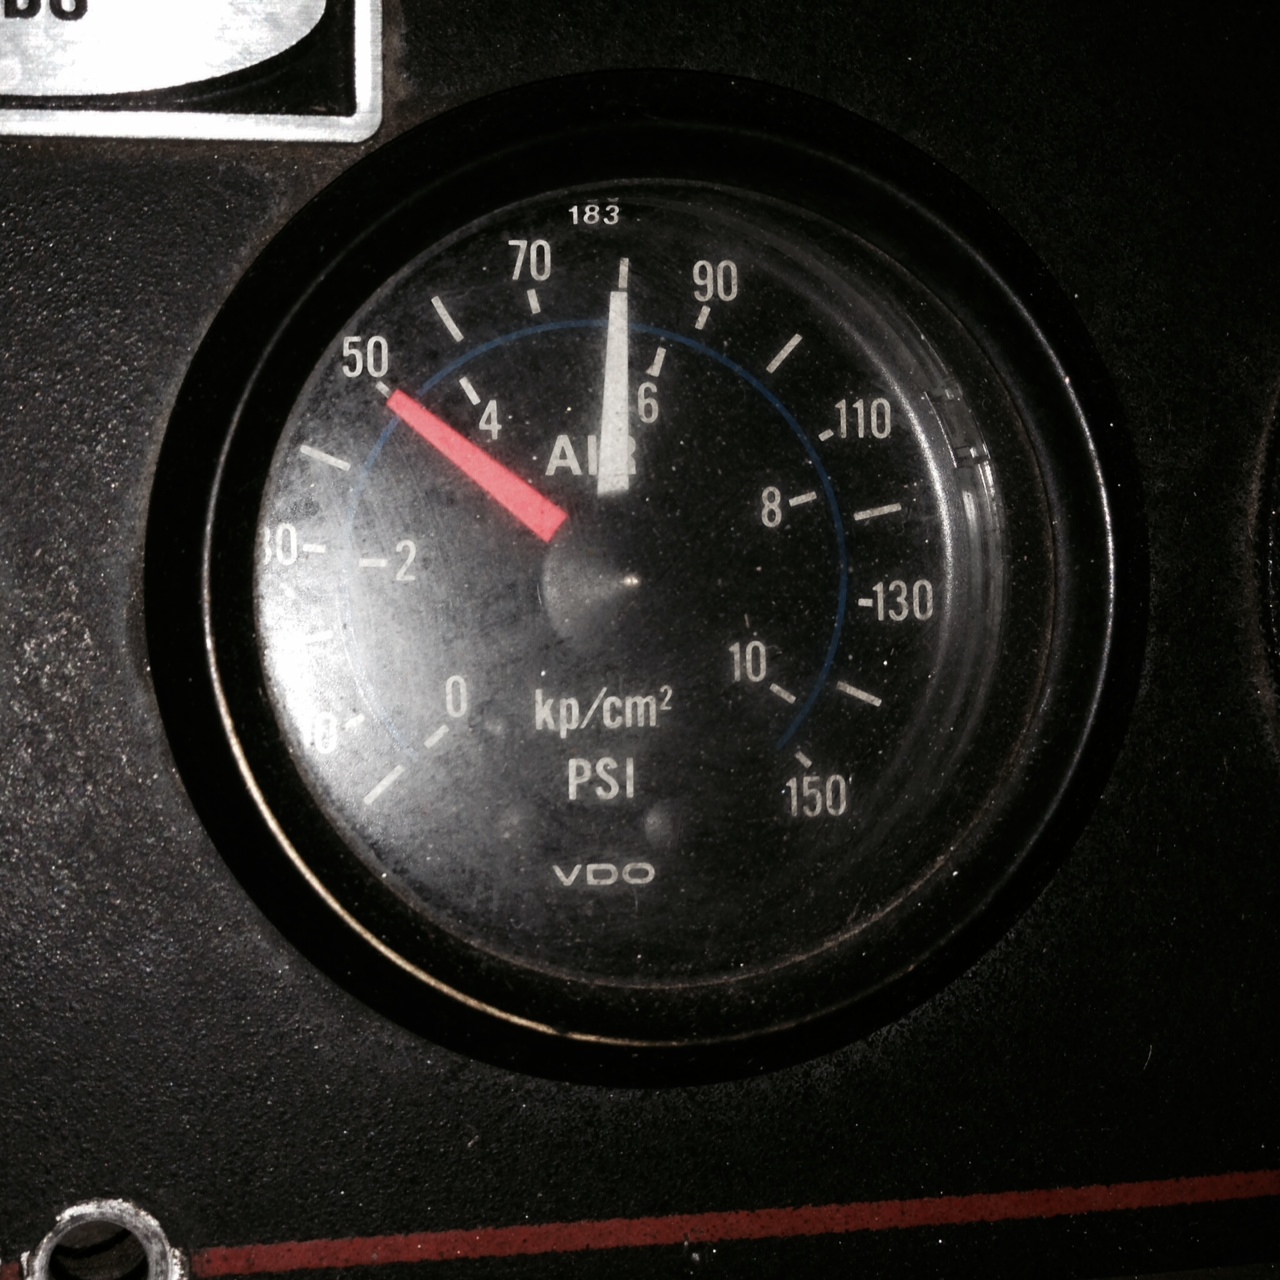
Single air tank gauge.
#3 – Cut In Pressure Test
With the air pressure on the gauge reading around 70 psi, watch to see your primary tank needle move to about 85 psi and stop. At this point, the secondary tank needle will move to equalize both air tanks at 85 psi.
After both tanks equalize, they will continue to build pressure together, resulting in a proper cut in pressure test.
#4 – Cut Out Pressure Test
With both tanks equalized, they will build until they reach their maximum air pressure within the tanks. This is about 125-130 psi but no more than 150 psi.
At this pressure, the air compressor will stop building up pressure within the air system. The unit air dryer will also open up and expel its contents to the ground. This causes the loud sound of rushing outward air we hear underneath the unit.
#5 – Static Air Test
Turn the unit off and watch the air tank pressure gauge. We should not see the air gauge reading drop more than 2 psi in a 1 minute span.
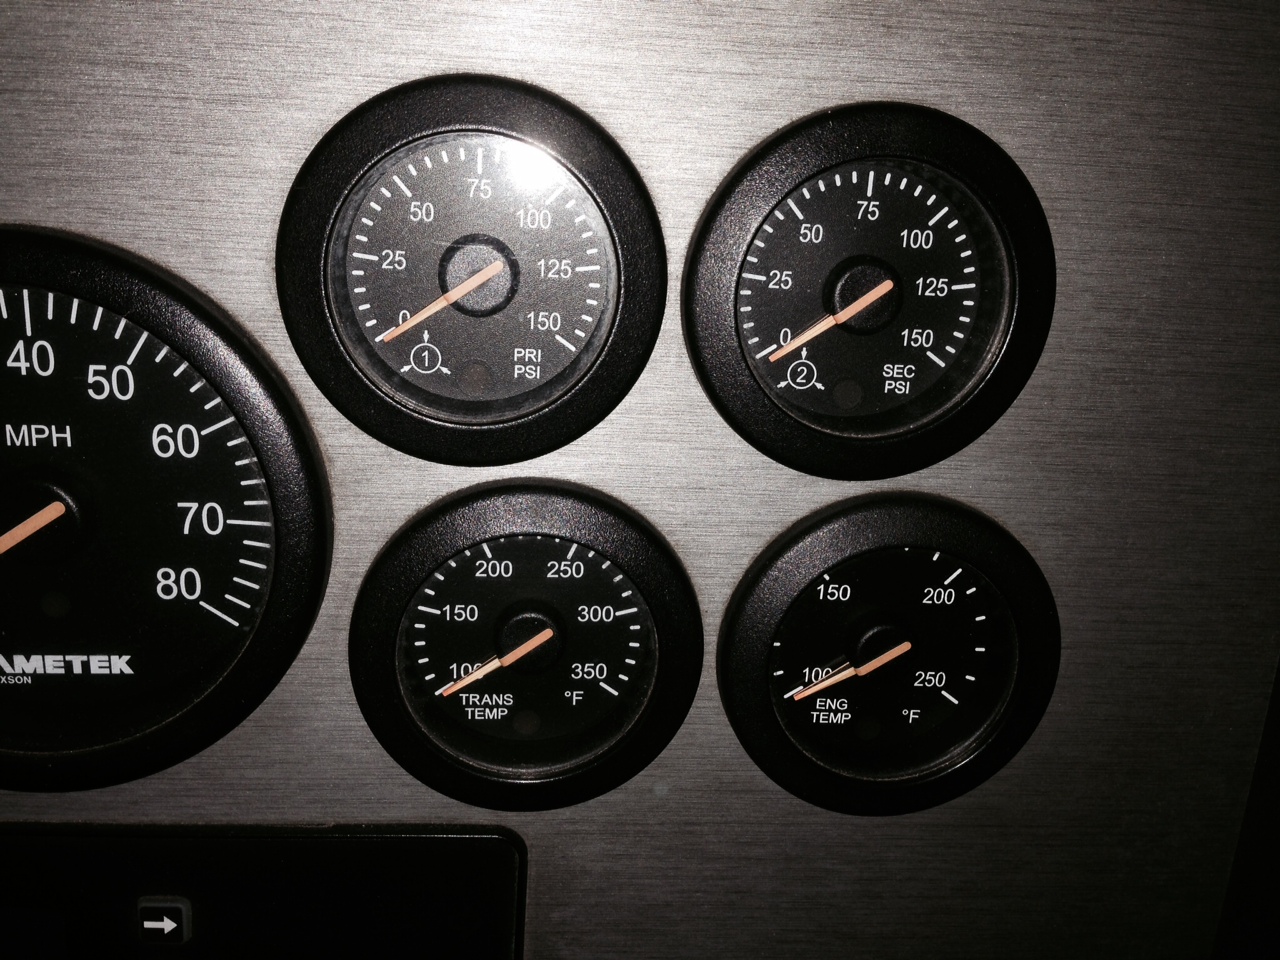
Dual air tank gauges.
#6 – Applied Air Test
With the unit off and the air brake released, hold the brake pedal down for 1 minute. We should not see the air gauge reading drop more than 4 psi.
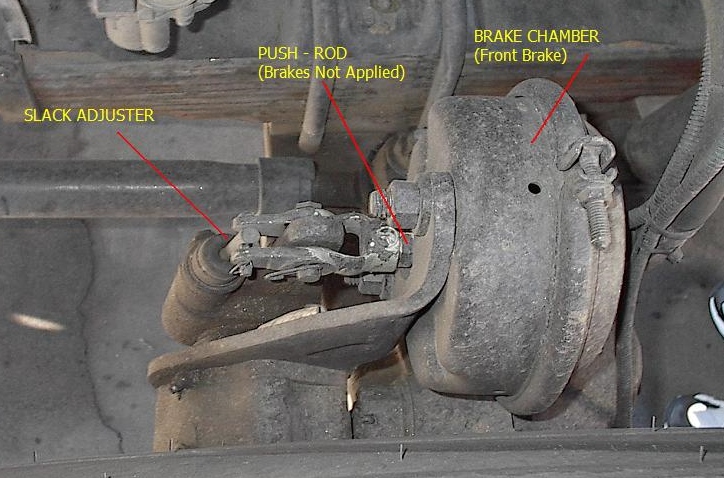
Slack adjuster, push rod, and brake chamber of the front brake.
#7 – Measurement and Visual Inspection
You will need a crew member to assist you with this test. In addition, you will need a flashlight, measuring tape, and a creeper (if available).
Step 1
Park on level ground, turn unit off and disengage the parking brake. We will need to see if the unit moves forward or backwards and place the chock accordingly. If the unit does not move, place the chock in front of the rear tires.
Remember to stay in front of the chock at all times to ensure your safety.
Step 2
Make sure the air pressure is around 100 psi. The reason for this is when we step on the brake pedal, the air pressure will be above 90 psi — the optimal pressure to check our brakes.
Step 3
Have your assistant hold down on the brake pedal until you tell him to release.
Have the tape measure ready and flashlight available for better visibility; use the creeper to get underneath the unit to take the measurements on the brakes.
Step 4
We will measure from the back of the brake canister where the push rod comes out to the orange ring. (If no ring is present, you will need to make a marking either with chalk or a piece of tape prior to starting Step 2).
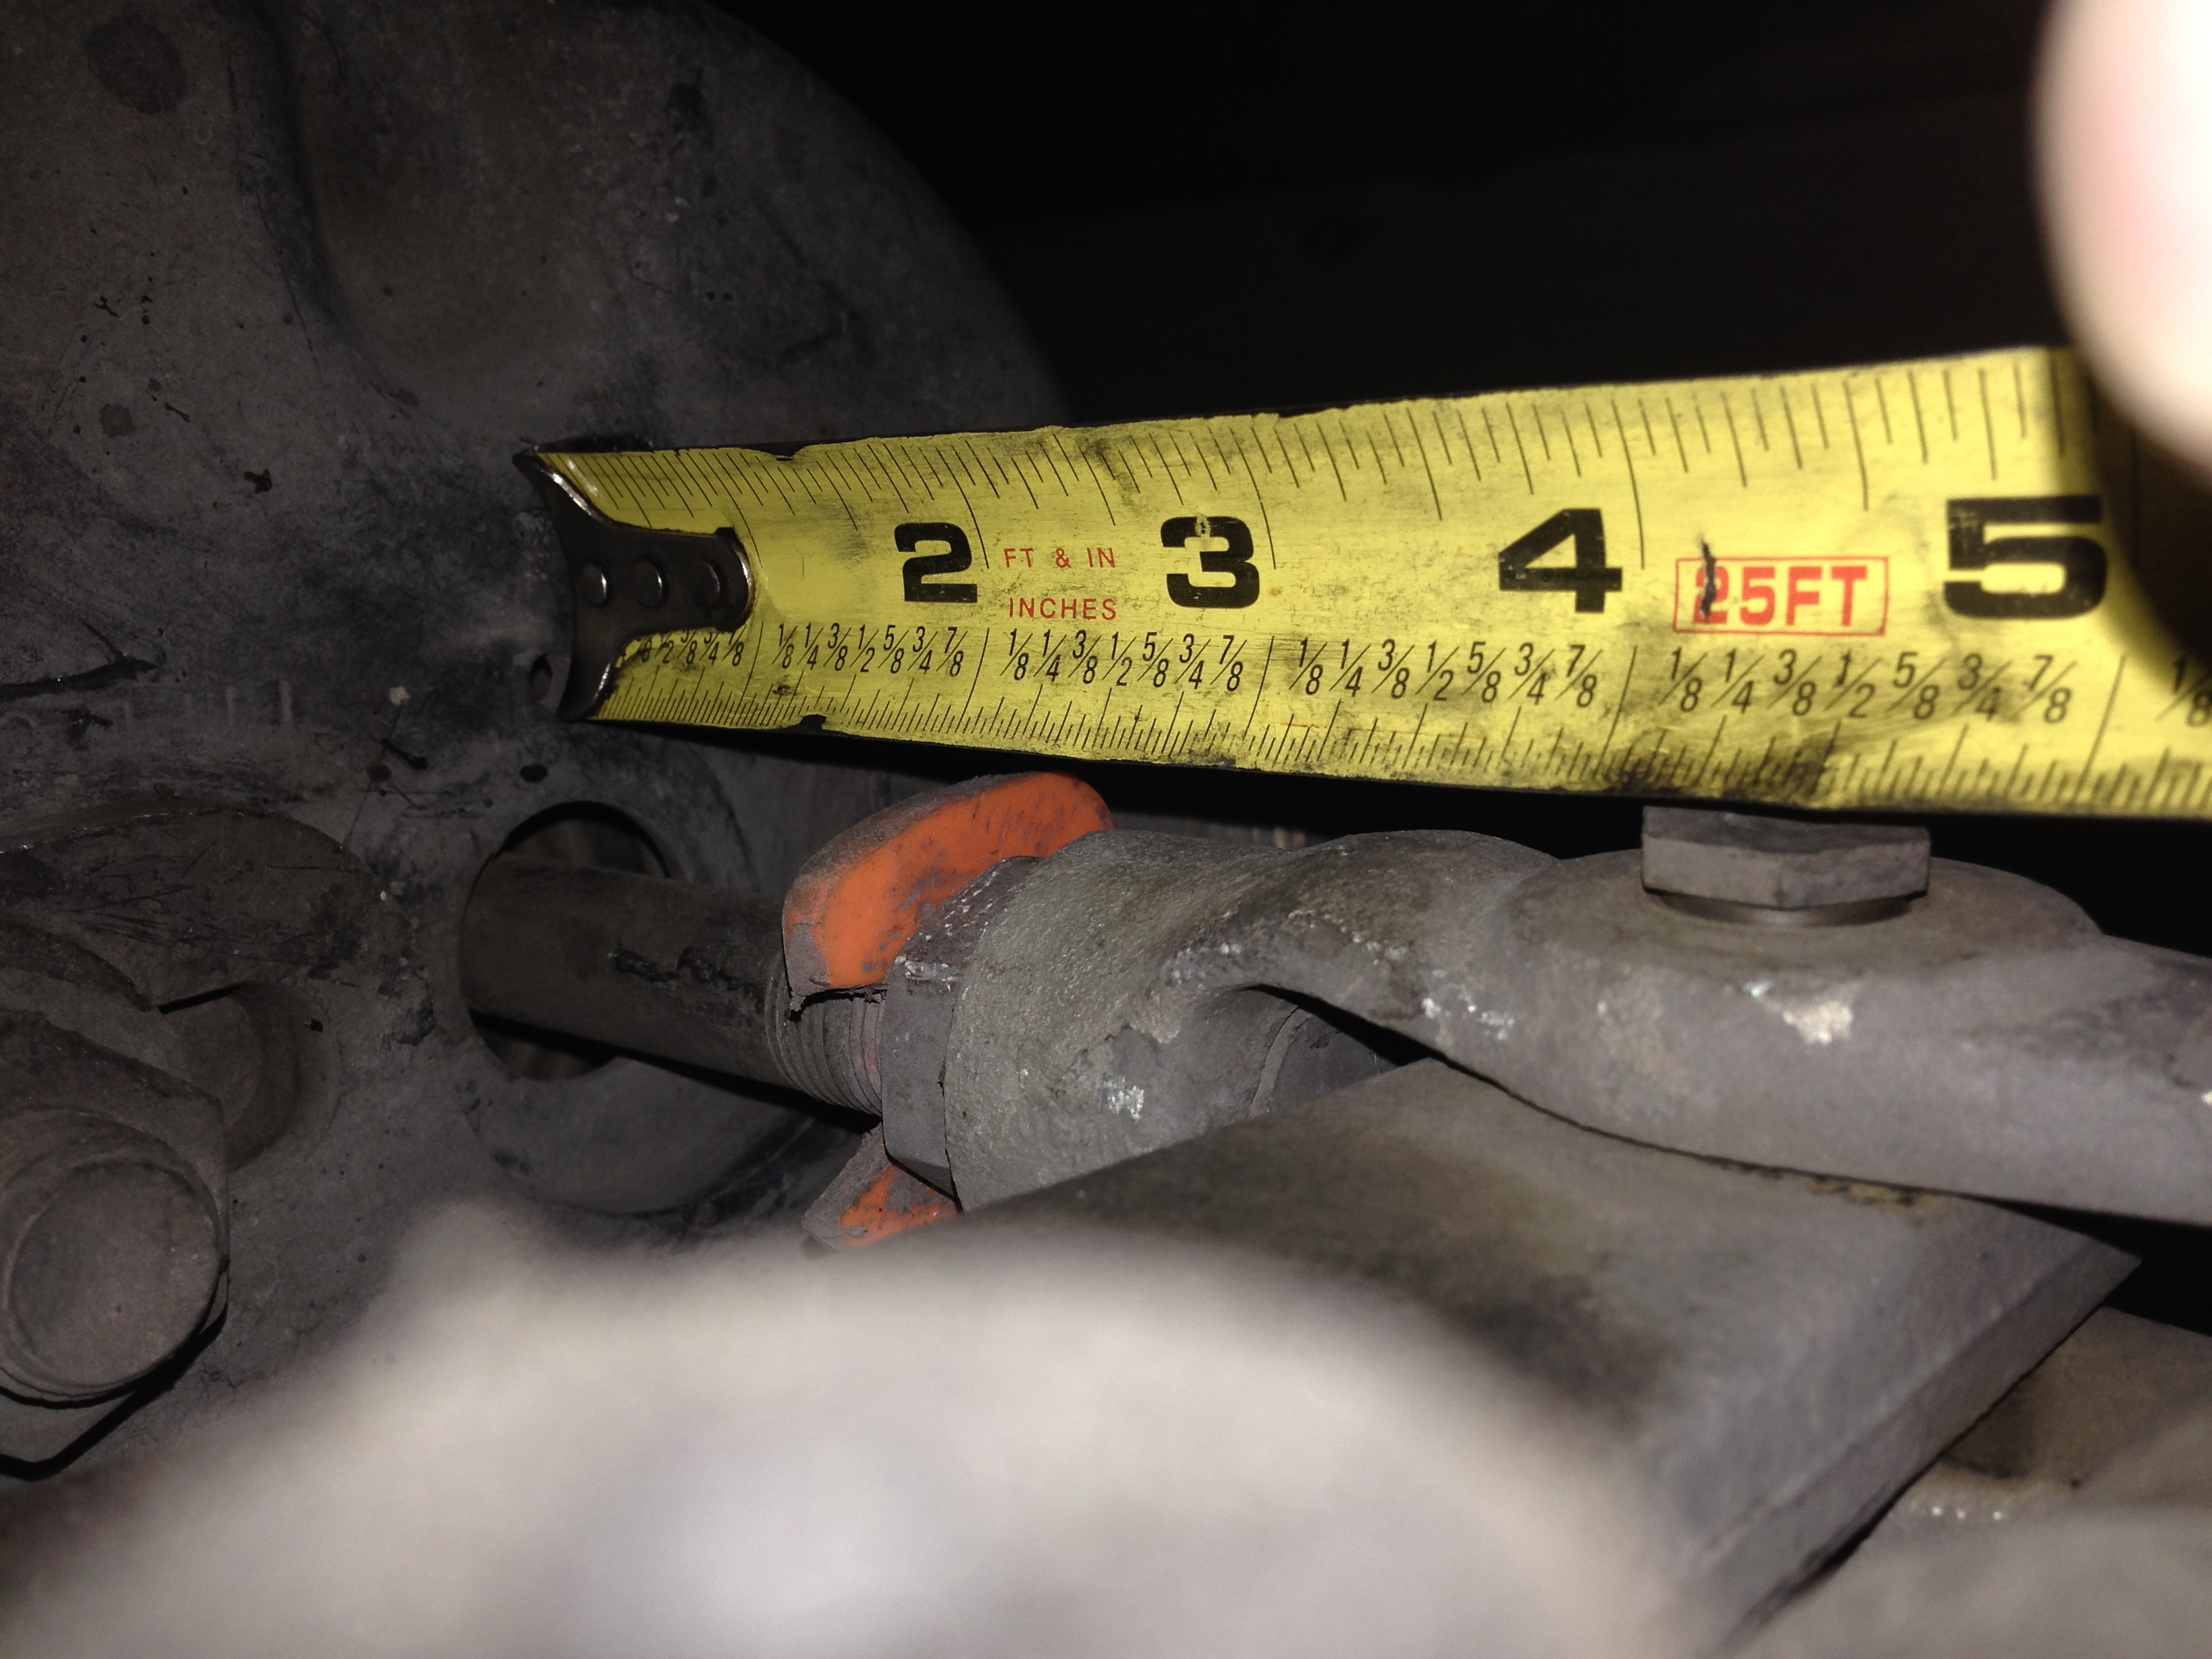
Measuring the push rod.
That total distance, in inches, is our recorded measurement. Based on your department SOPs, there is a minimum and maximum throw of the push rod allowed. As an example, my engine’s minimum measurement is 1.5″ and the maximum 2″.

Know the maximum brake measurements for your unit.
Measurements that are too long or too short are safety issues and will need to be addressed immediately for the following reasons:
- A push rod that measures more than 2″ to 2.25″ means you have to push down harder on the brake pedal to slow down. This increases your stopping distance which may led to an accident.
- A push rod that measures less than 1.5″ means the brakes will react too quickly and may put the unit into a skid.
Remember, if you have a smaller or larger brake canister on your unit, then the normal operating measurements will be different. Review your departments SOPs to make sure you know these measurements.
Step 5
While you are under the unit, take the time to visually check your brake components like the rotors, calipers, and air tanks.
- Check for stress fractures or glazing on the rotors (bluish burn mark). Make sure all components are secure.
- Verify the calipers are secure and not damaged.
- Make sure air tanks are secure. Drain tanks of moisture as needed.
Our crew and their families are counting on us to get them to and from calls safely. We need to keep this in mind when doing our daily checks.
Photos courtesy of Christian J. Adams