
Previous Story
How To Recharge The Water Can
Posted On 22 May 2014
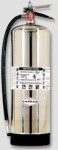
The Water Can-
The Pressurized Water Extinguisher a/k/a The Water Can
From confining a fire to extinguishing it, the 2-1/2 gallon water extinguisher (or “the can”) is one of the most useful tools in today’s fire service.
Considered a very basic tool by many (and it is), sometimes we do not give it the attention it deserves. We often put emphasis on its actual use and frequently forget to cover other aspects such as its care and maintenance, tips on carrying it and even different additives we can use to make it even more versatile.
Recharging The Extinguisher
Recharging the extinguisher can be dangerous if not done properly. Overcharging can cause parts and even the extinguisher body itself to fail and should be done with caution.
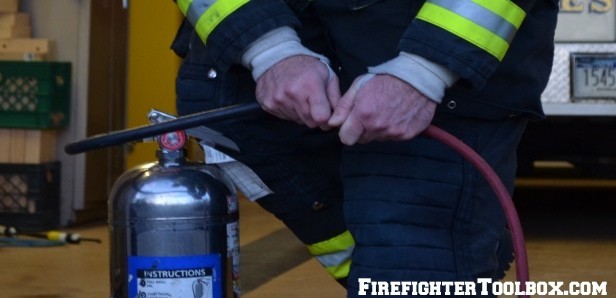
Step 1 – De-Pressurize the Water Can
Turn the extinguisher upside down and squeeze the handle (or simply place it on the ground and push down) until all of the air has been discharged.
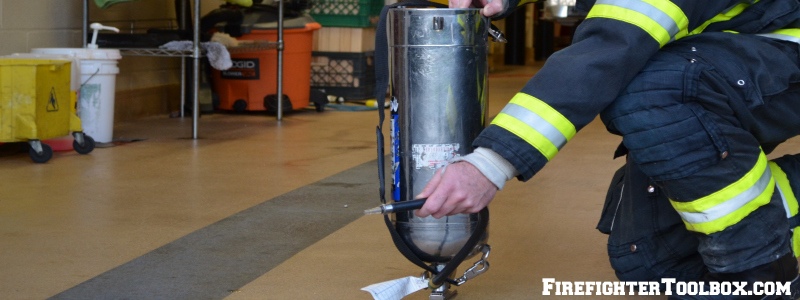
Discharging the air
Step 2 – Remove the Valve Body Assembly
Unscrew the nut and remove the hose and valve body assembly
Removing the hose and valve body assembly
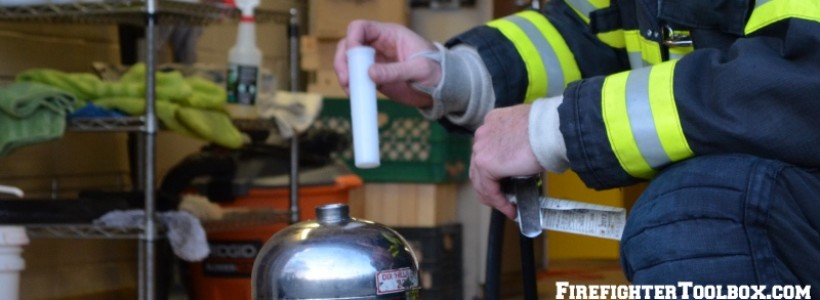
Step 3 – Remove the Plastic Fill Cone
Remove the plastic fill cone from inside the extinguisher.
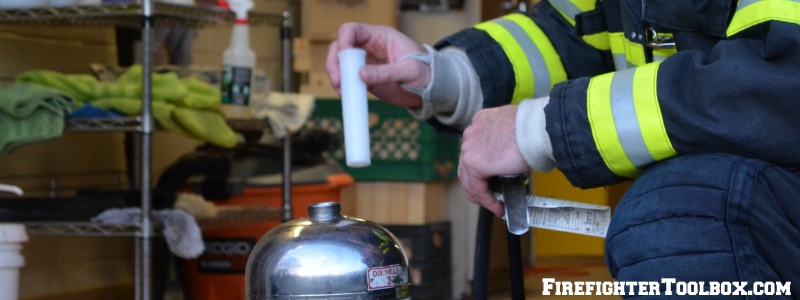
Removing the plastic cone
Step 4 – Fill with 2-1/2 gallons of water.
Adding 2-1/2 gallons of water
As you can see above , I use a garden hose. I have a real good idea from experience where 2-1/2 gallons sits in the extinguisher. If you haven’t done this often, you should measure out the water before pouring it in. The water should sit at the bottom of the plastic fill cone (see below) inside the extinguisher.
** Do not fill the water to the top of the extinguisher. That air gap needs to be there to air fill and pressurize the can.
Step 5- Install the Plastic Fill Cone Inside the Extinguisher.
Install the plastic fill cone inside the extinguisher if you have not done so already and make sure the water is not above the bottom of the cone.
Replacing the plastic cone
Step 6 – Re-Assemble The Can
Place the valve body back down into the extinguisher and tighten it down. You do not need to use a wrench; “hand-tight” is fine.
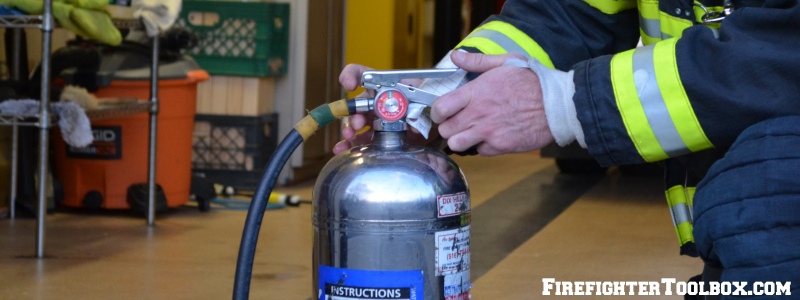
Replacing the valve body assembly
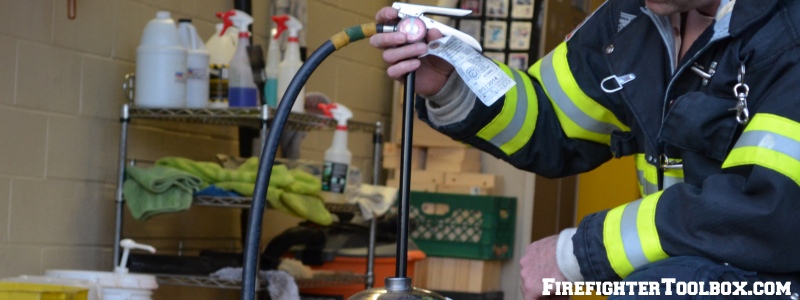
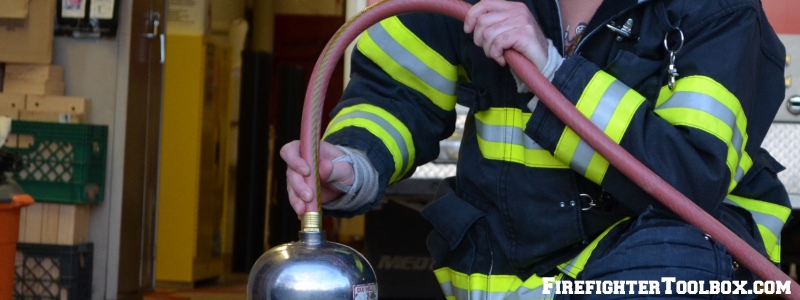
Step 7 – Pressurize The Can
Place the air line on the Schrader valve located behind the pressure gauge and hold until the extinguisher is charged with 100 PSI of air. (According to some manufacturers, nitrogen may also be used.)
**Be careful not to over-pressurize extinguisher. Use eye protection because the gauges on these are known to break apart and explode into fragments when they go bad or are over-pressurized.

Adding air using the Schrader valve
Some extinguishers do not have a Schrader valve. Filling these can be quite tricky (as well as entertaining if you are not the one doing the filling). Pressurizing is done by placing the air line on the nozzle itself. You will need to press down the discharge handle in order for the extinguisher to be filled.
Adding air through the nozzle
If I am operating alone, I have found the easiest way to do this is to hold the air line on the nozzle and press the discharge handle down with my knee. When the desired pressure is reached, I simply take my knee off the discharge handle then remove the air line from the nozzle. If the air line is removed before you let up on the discharge handle, someone is taking a bath.
Step 8 – Replace the Pin
If the department requires it, replace the pin to prevent accidental discharge. I personally do not store my extinguisher with the pin in place.
If you have any tips on recharging the can, please leave them in the comments section!
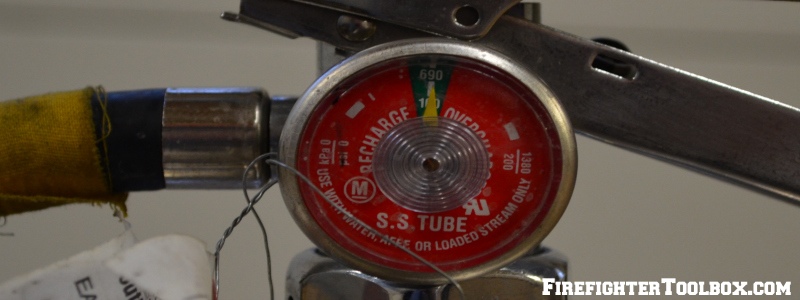
The pressure is in the green and the can is ready to go
Photos courtesy of Courtney Fling
Read additional articles on the can here!
The 2-1/2 Gallon Water Extinguisher – Uses
Taking Care Of The Can – Part 1 – Recharging
Taking Care Of The Can – Part 2 – Inspection and Maintenance
Taking Care Of The Can – Part 3 – Carrying and Modifications
Additives For The Can


Long time ago a co-worker taught me the trick of a squirt of dish soap. In his experience Dawn or Palmolive worked better. He said that the FBI HazMat people used Anti-Bacterial Dawn to clean up after an anthrax scare. He even suggested 1-2 ounces per 250 gallons of water in the tank, for a simple version of Class A foam.
Yes Dave, dish soap does work very well. Watch for an upcoming article where we will explore that and other additives as well as a great modification we can make to the can. Thanks for commenting and reading.
Thanks for mentioning that the valve body only needs to be “hand tight”. For a long time I didn’t know this and would break out the Channel Locks to tighten it down. Channel Locks work but are not appropriate. Properly sized open box wrench is the RIGHT TOOL for tightening a nut such as this (if it needed it, which it doesn’t). I have known from other applications in life that once you add air pressure to a sealed container all the fittings become that much more engaged. Can’t remember when it clicked exactly but I realized no wrench needed, air pressure will provide the cinch that was needed! Thanks Chief
Thanks for the comment Brandon. Your correct, a properly sized wrench is the proper tool for the job. We sometimes find ourselves needing to refill a can without a wrench around, that is one of the reasons hand tight is recommended. I recall being in the woods on a brush fire needing to recharge a can and cursing the person that recharged it before me and tightened it down with a wrench.
If there is no Schrader valve an adapter is available. The discharge hose is removed, adapter installed that the air line connects to.
Please check for a current hydro test label before pressurizing. Should be within the last 5 years. Don’t place your head or body over the extinguisher while pressurizing. This goes for cartridge operated dry chems also. Thanks.
Good article chief. I would just like to mention that the plastic fill tube is suppose to stay in the extinguisher while filling. When you get close to the top slow down your fill hose and when you get water out the top of your extinguisher you will have 2 1/2 gallons of water and the right amount of air space to pressurize. No measuring required. I read this on the manufactures website a few year back and have been using ever since . Hope this helps.
FF Ben Hotop
St Louis MO