Making Your Halligan More Effective
The halligan is one of the most utilized pieces of equipment in the fire service. Since its creation, the halligan has shown itself to be the “Go To” tool. There are 4 simple modifications that will enhance your halligan.
Disclaimer:
This article is for informational purposes only. Altering any equipment is very dangerous and can void the manufacturers warranty and also cause the equipment to fail unexpectedly which can cause injury and even death.
Before attempting to modify your department’s halligan (Even if it’s your own) or any piece of equipment, be sure to get permission from your department, review the manufacturer’s warranties, contact the manufacturer to determine the risks of the modification and always wear proper PPE such as gloves and glasses when grinding.
Making Your Halligan More Effective
The Modifications
1. Adze Depth Gauge:
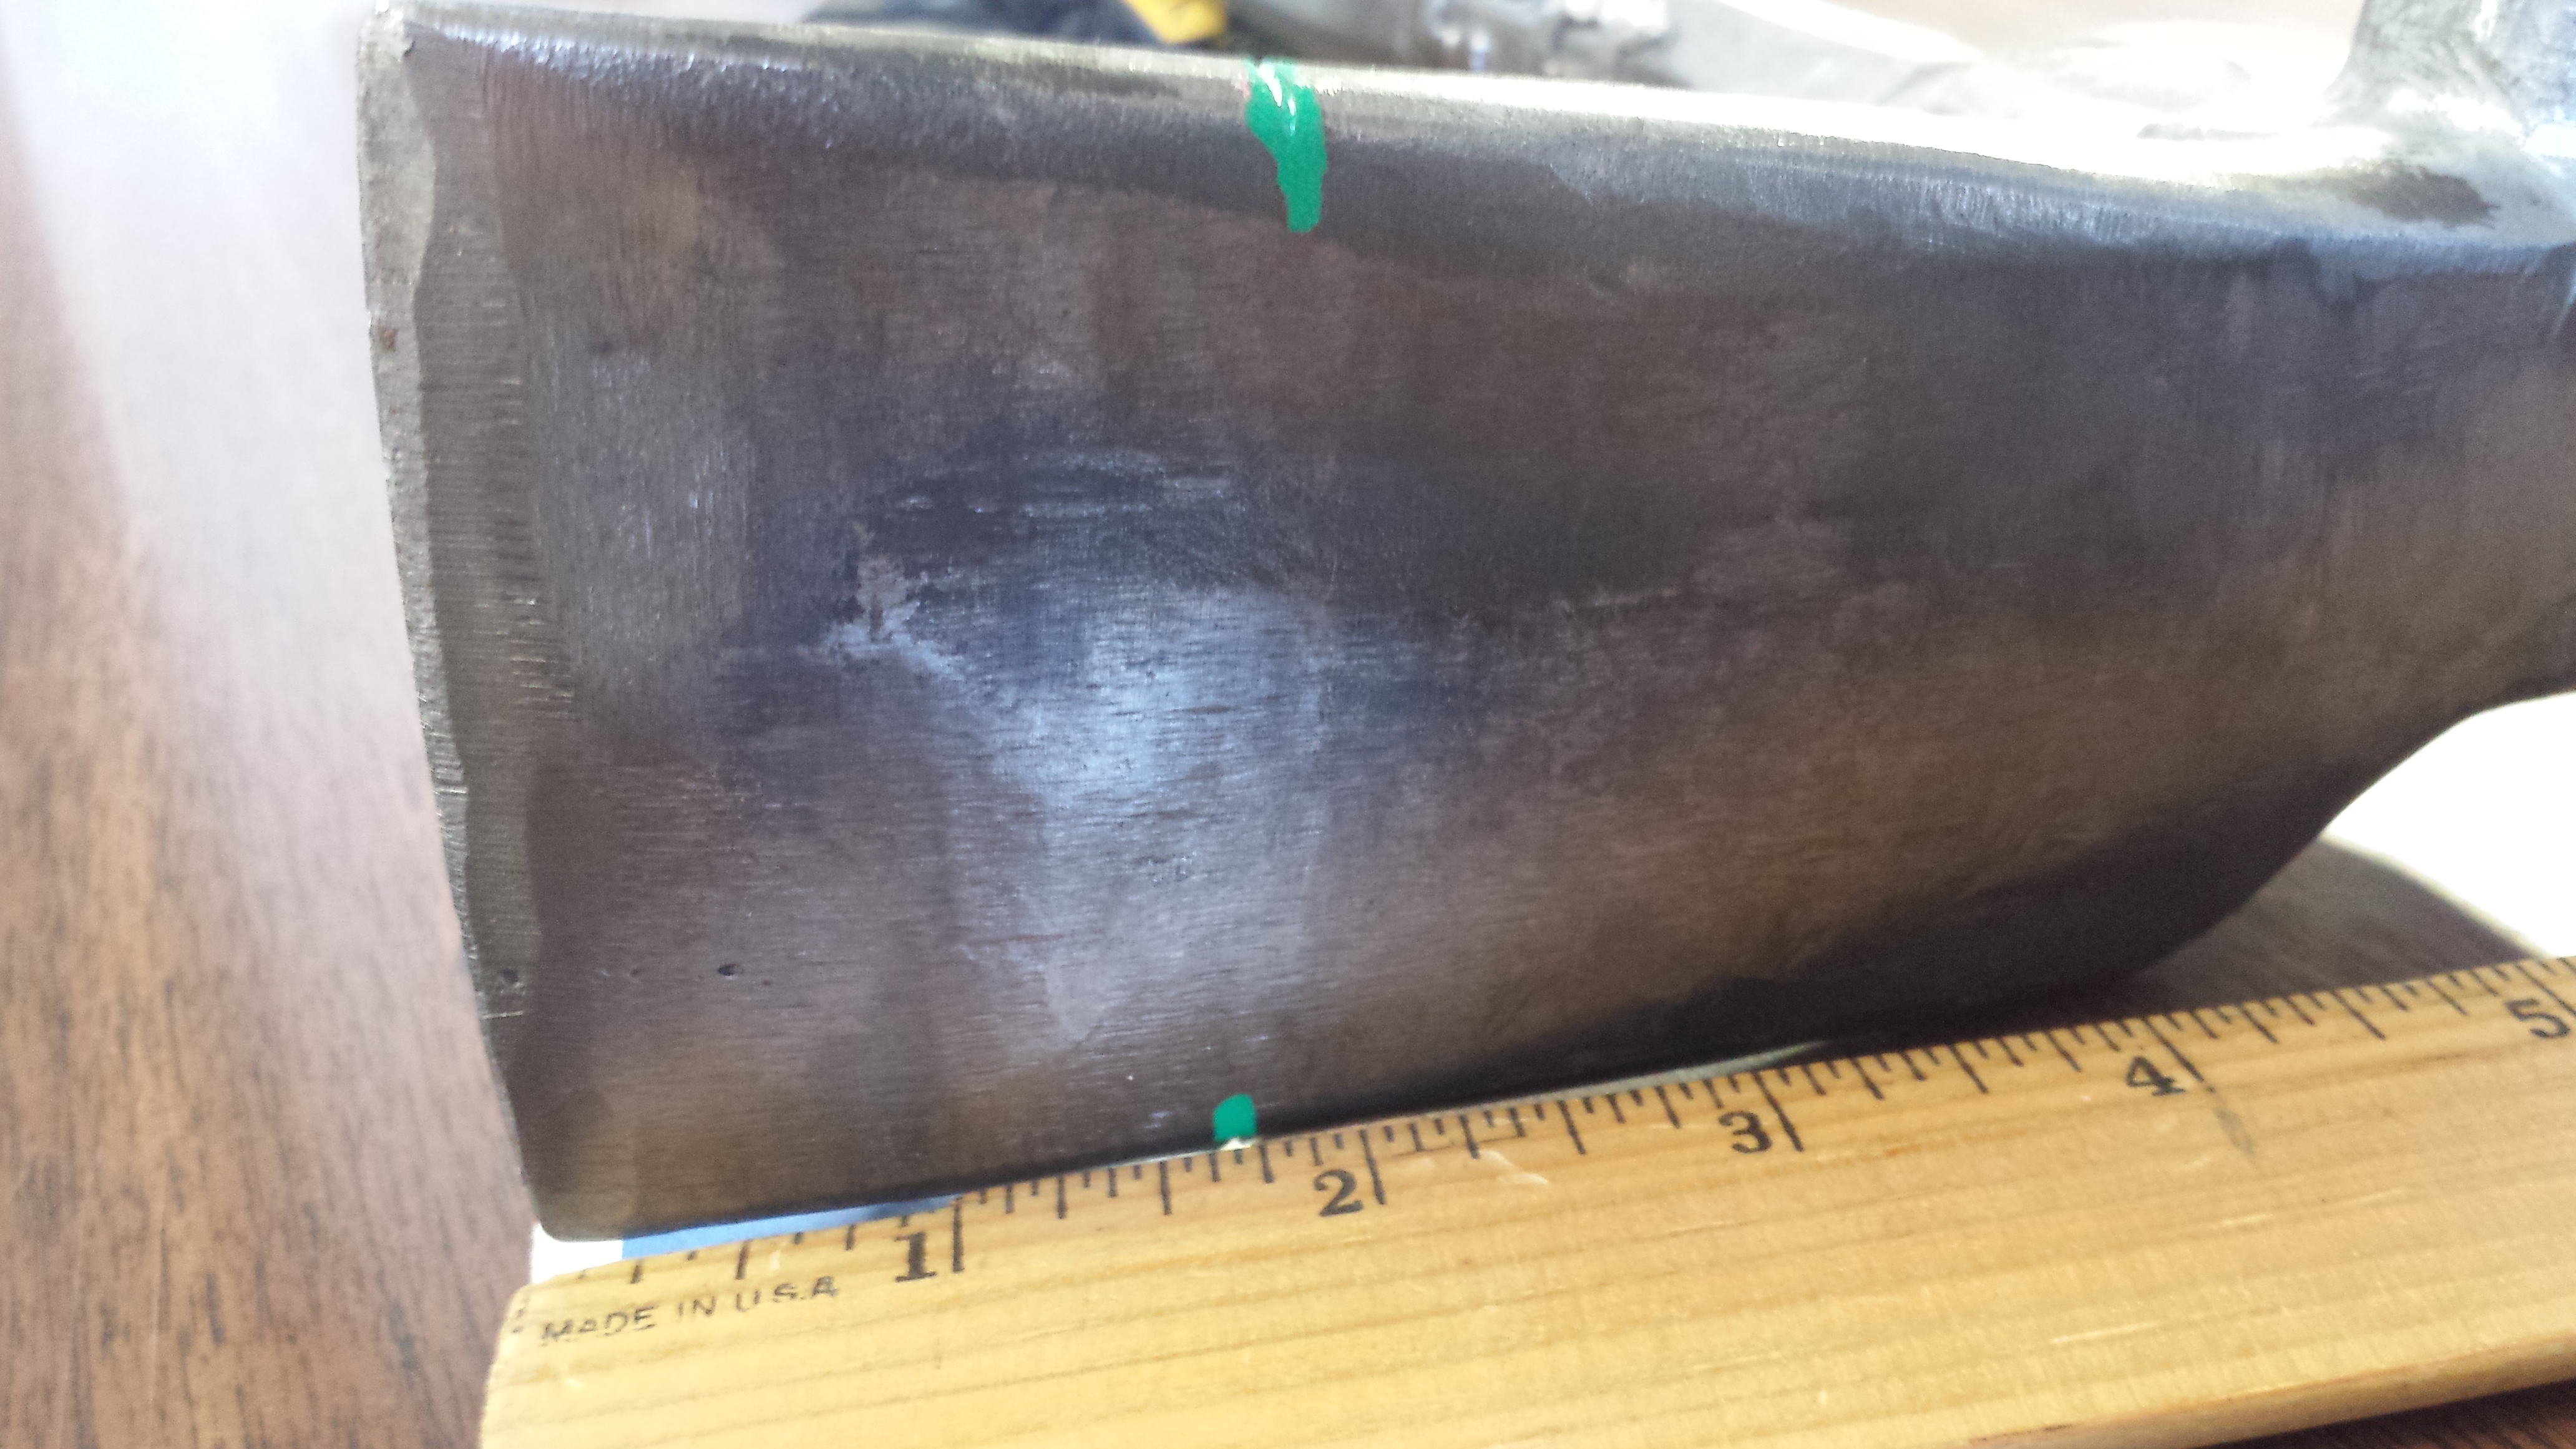
Notching both sides of the adze approximately 1 ¾” back from the end of the adze we are able to create a depth gauge. After notching both sides of the adze use a paint marker in the notch space to better identify the notch location in low visibility conditions.
The measurement of 1 ¾” allows the adze to penetrate into the space between the door and its frame without getting embedded into the jamb. This gives the maximum leverage when forcing the door.
2. Fork Depth Gauge:
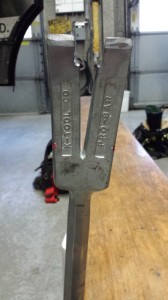
Place the notches on the outside of the forks approximately 4” back from the tips. Once again use the paint marker in the notches to have them stand out.
The measurement of 4” back allows the forks to get past the door stop and allows for maximum leverage when forcing the door.
3. Squaring the Shoulders:
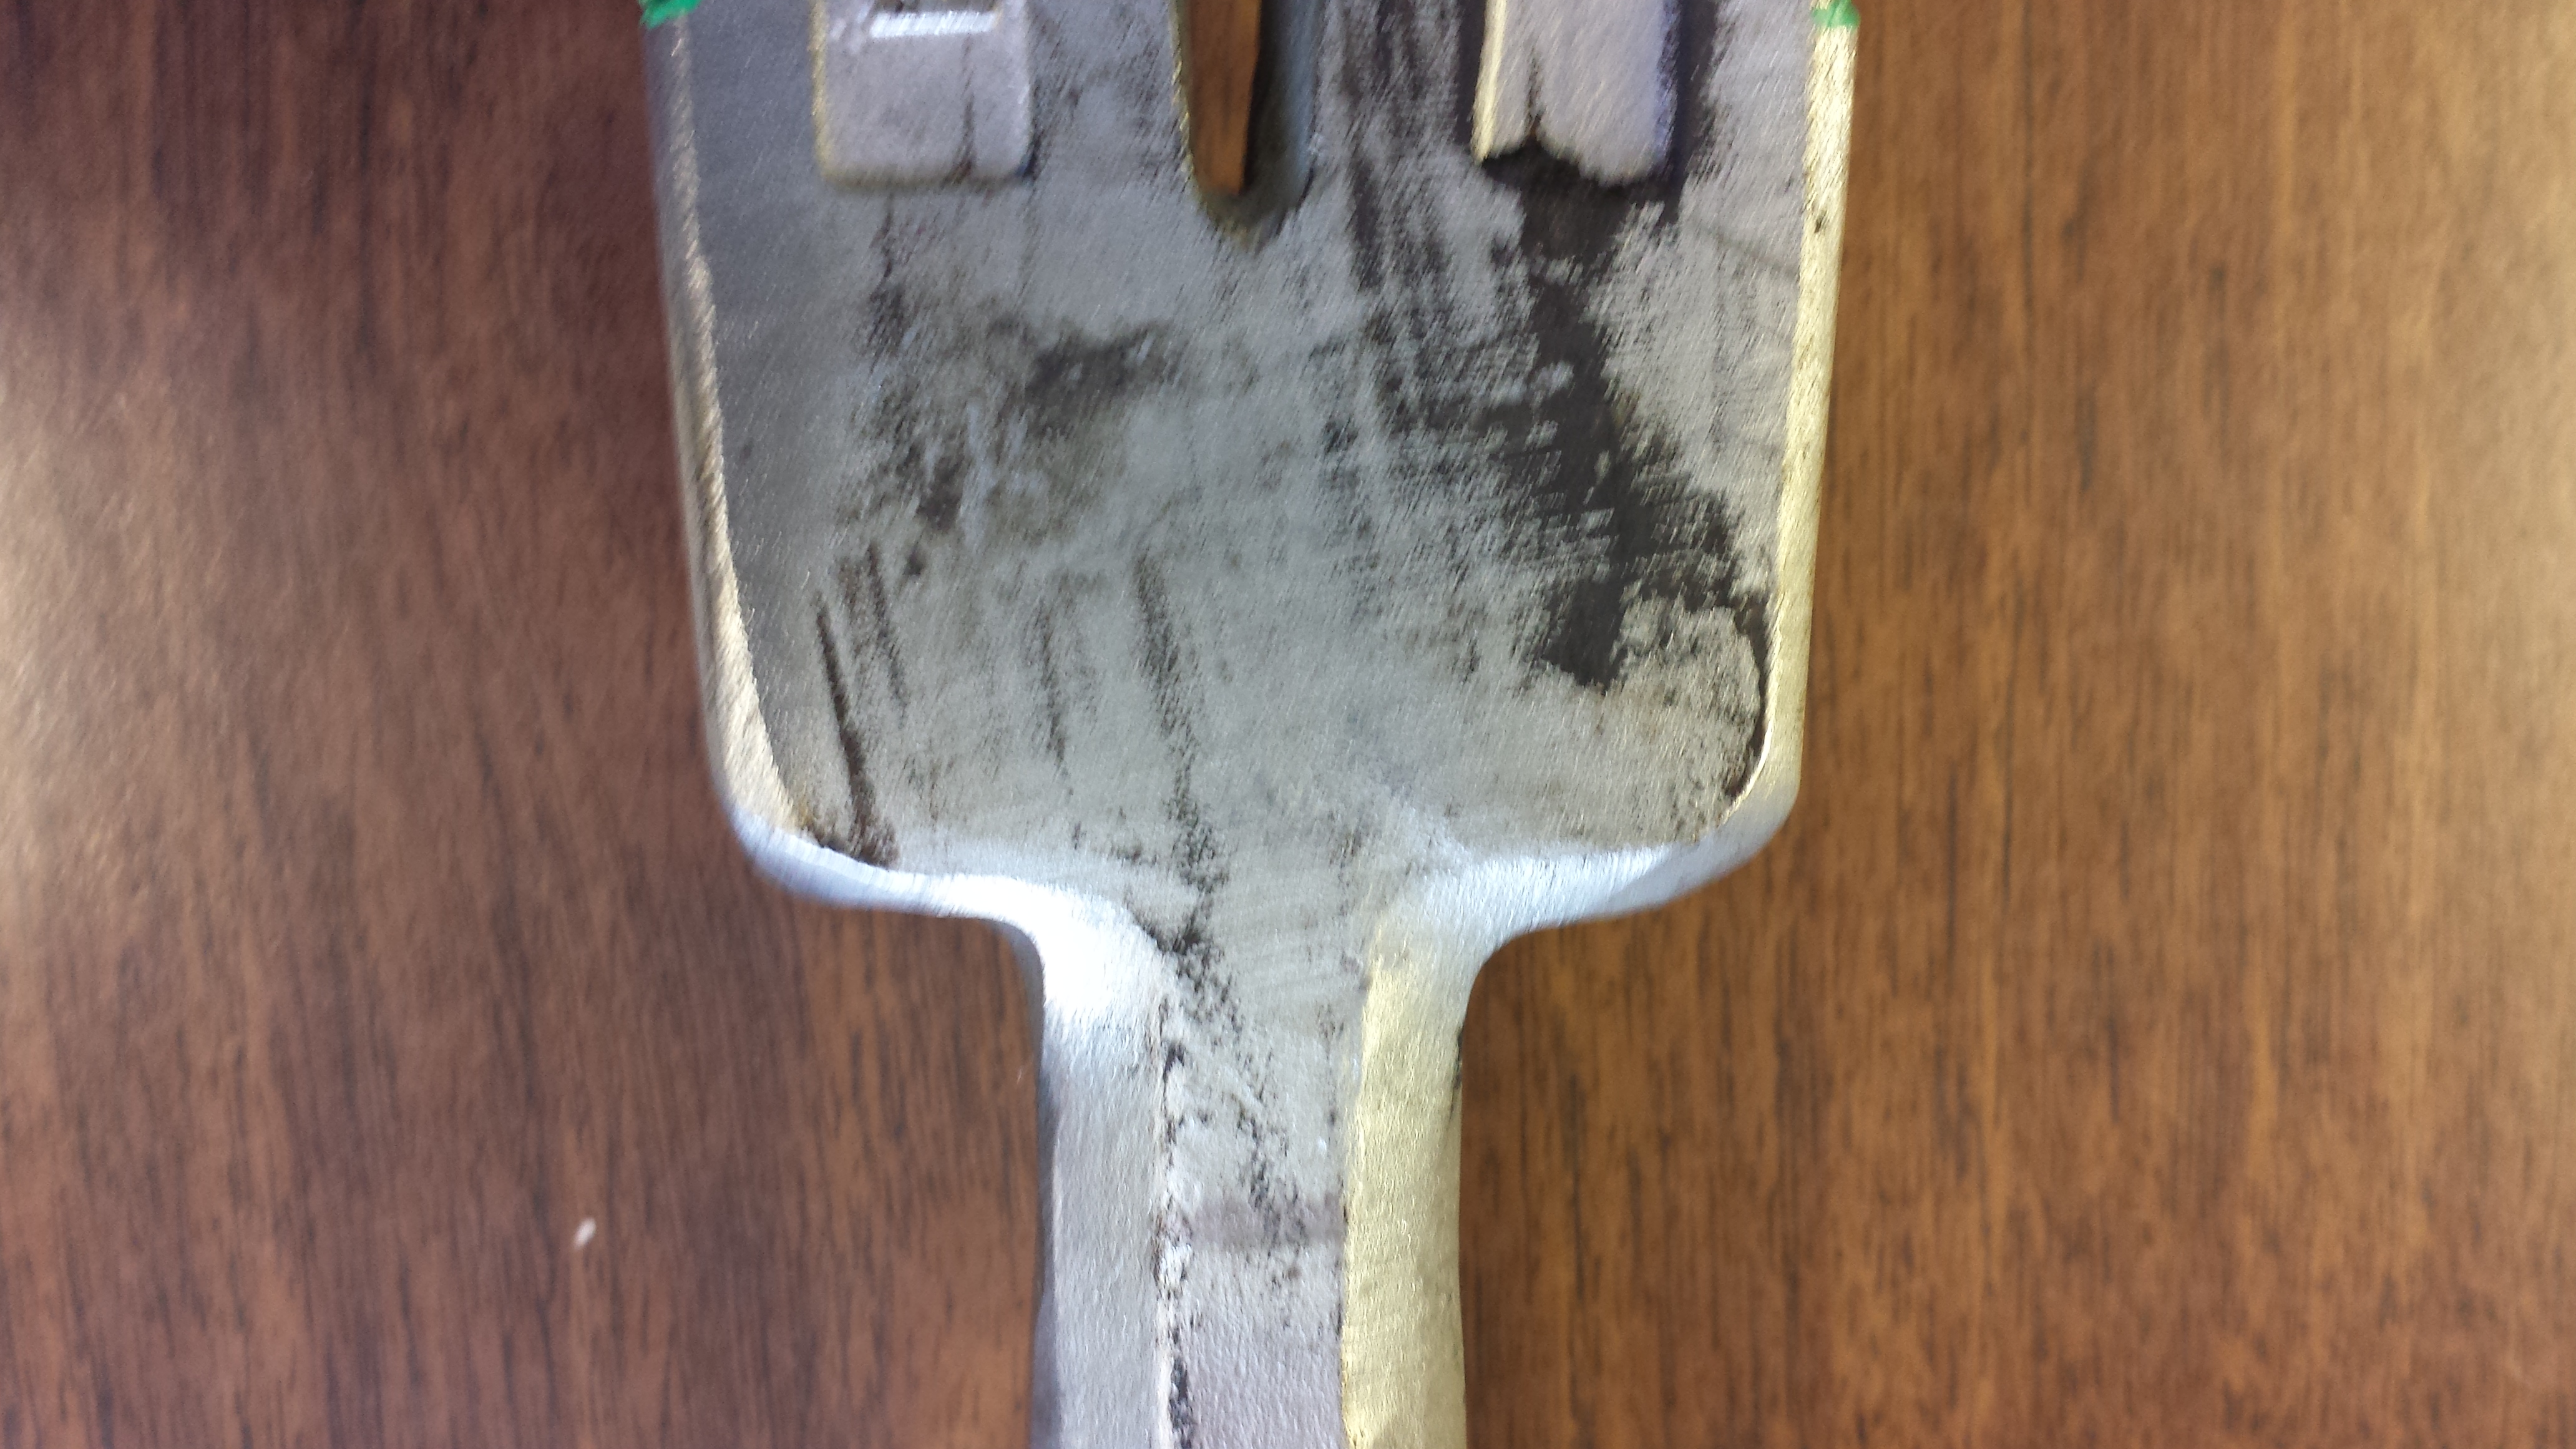
The squaring of the shoulders of the fork end will allow for operating in narrow halls and when there is low visibility. We can use a file, desk grinder, or angle grinder to square off the tops of the fork at the base of the halligan shaft.
The squaring of the shoulders allows the firefighter with the striking tool to slide the head of the tool down the shaft of the halligan and strike the fork end driving it between the door and the frame. This does not work well if the shaft of the halligan is wrapped with grip tape, but it can be accomplished. This technique in low visibility is the safest method for the forcible entry team so as not to get struck by the ax or sledge.
4. Gapping the Forks:
Gapping forks of the halligan gives us the ability to perform a thru-the-lock technique of pulling off a locked door knob. We can use a file or desk grinder to create a 1” wide gap between the forks, that is approximately 1” deep into the crotch of the fork from the tips.
To remove the locked door knob, place the gapped fork end of the halligan between the knob and the door and then place the head of the ax behind the fork and push the top of the halligan back to the door. The knob should pop off. Use a screwdriver to release the door latch mechanism from with the door lock.
Once the modifications are complete be sure to file down any sharp edges and lightly oil the adze and forks to prevent any corrosion.
These modifications made to your halligan will make your tool even more versatile than the standard halligan. It takes the guess work out of how “deep” the adze or forks are buried; which in turn makes you work smarter not harder.
Good luck with your efforts on your tool. Let me know how things turn out for you in the comments below.


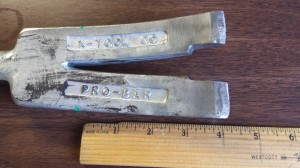
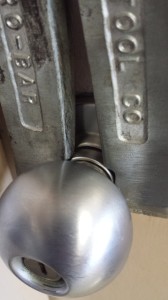

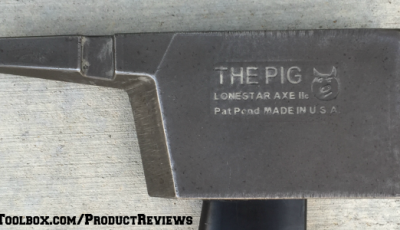




Great article, John! I was especially tickled you liked our idea about gapping the forks for pulling door-knobs. Most (though not all) of the newer SPF halligans on the market have a 1″ wide gap between forks. The gap on the Pro-Bar is about 7/8″ and just a LITTLE too narrow for many door-knobs….you can usually get them to set down over them if you tap the tool down with an axe, but widening the gap works even better and only takes about 10 minutes to perform with an angle-grinder.
Thanks again for the well-written piece. I’ll be sharing it for sure.
–Sean Wilson
Search & Destroy Fire Training LLC